Understanding Moisture Problems, at Window Edges: The Need for Thorough Checking
When you see a spot forming under your bedroom window it can be confusing especially if the wall seems dry and the room hasn't had any wetness for days. An infrared camera might show areas around the window. Reading these pictures correctly is important. Cooler spots might mean condensation, poor insulation, air leaks or water coming from outside. The real challenge is to find the reason through checking, which can save you from fixing things that don't need it or find a hidden leak that might have been thought to be just a cold spot.
Looking at the Wet Look
Before using a camera it's important to take notes about where the wet mark is and the conditions around it. Write down when it first showed up and think about any weather changes, like rain or a drop in temperature. Pay attention to if the problem gets worse after actions, like cooking or boiling water and note any changes in humidity when the door is closed or during drying clothes.
The shape and spot where the wetness appears also matter a lot. For example if the mark is a line going down from a part of the window frame it could mean something than a larger wet area in a corner of the room.
Then look at the outside around the window. Check for problems like cracked sealant, blocked water paths in the frame parts that stop water or any building features that might bring water to the wall. These observations won't prove something is wrong by themselves. They help understand the pictures that will be taken.
Conditions for Infrared Pictures
For infrared pictures to be useful there needs to be a difference in temperature between the inside and the outside. Without these differences the camera might not show problems. Things like sun recently opened windows heat sources under the window or furniture blocking the heat can make the thermal pictures unclear. Gathering this information is important before taking pictures.
Looking at Heat Patterns
Just because an area is cooler on a picture doesn't mean there is moisture there. It's common for parts of the window the top of the window and corners to show spots that don't mean there is water. Look for repeated areas on windows; these may show consistent construction or airflow problems. On the hand a single cool area that matches a problem outside needs checking.
Look for signs that the cool areas are connected. Does the cool spot go down from the top of the window? Does it stop at the trim or floor? If a similar pattern is in another room it might mean a construction problem while different patterns might mean more checking for moisture is needed.
Time is also important. Coolness from condensation often appears under weather conditions or after activities that make moisture indoors. Water from rain might not show up away. Can sometimes be delayed, which adds another thing to think about before finishing the checks.
Combining Heat Pictures with Moisture Tests
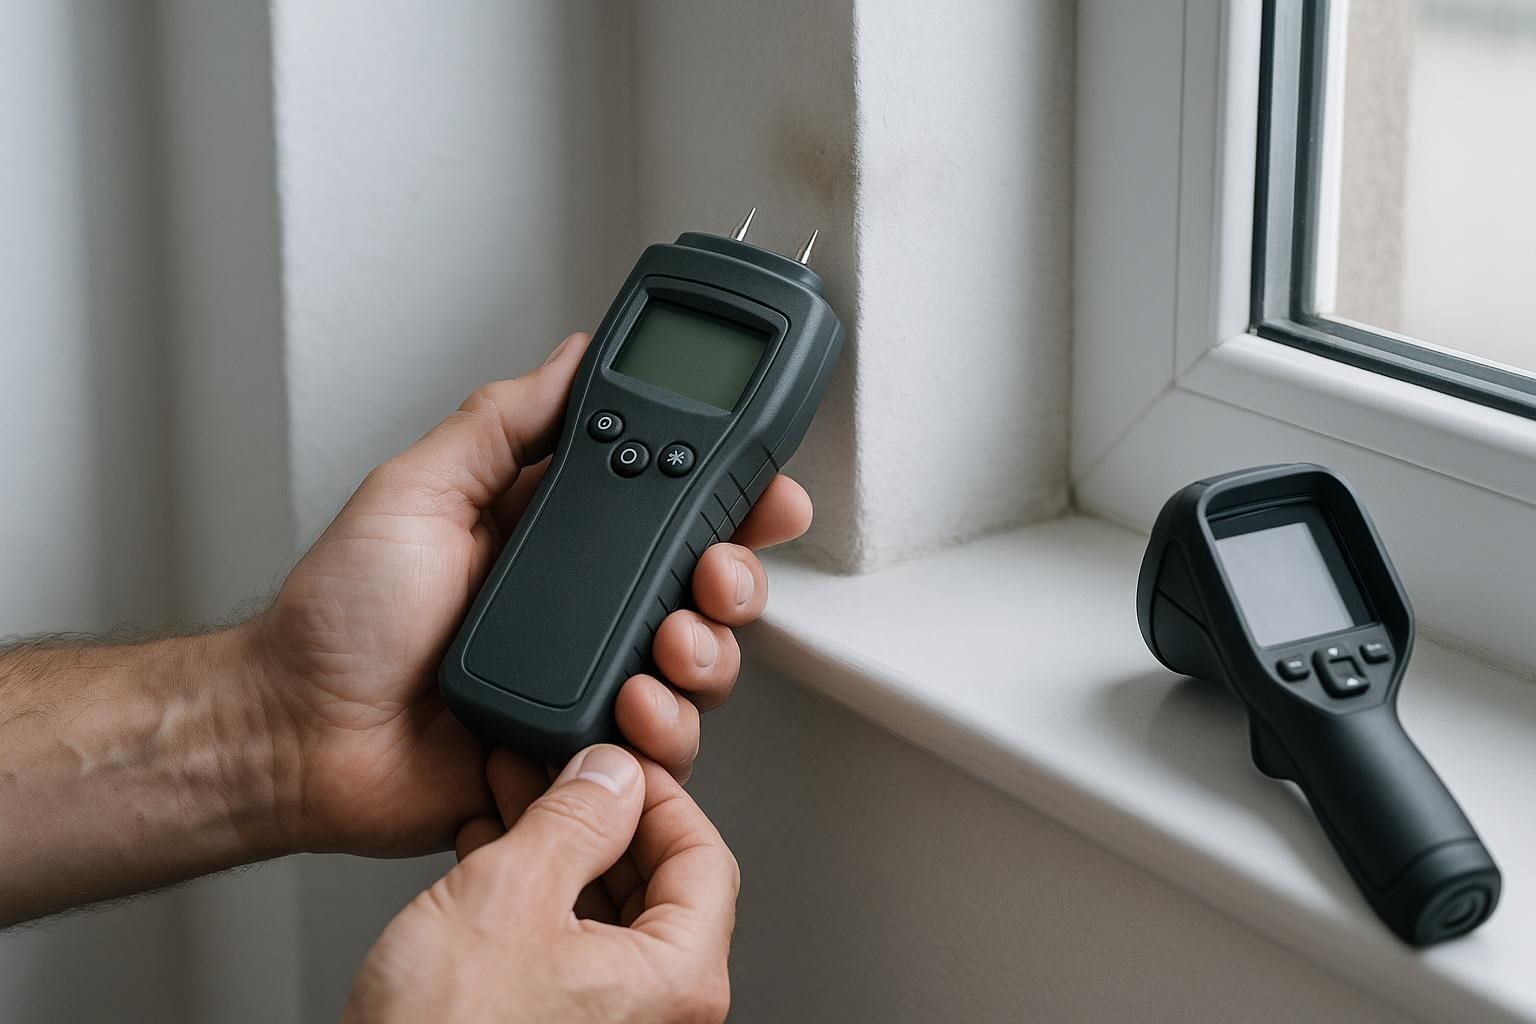
Using pictures along with on-site moisture tests can give a picture. Don't just look at the areas the camera shows,. Also at areas that seem normal for comparison. A big difference between these areas is often more useful than one reading.
Remember, moisture meters have limits: meters that check the surface might react to materials or conditions that can make the results not accurate. The results from meters with pins depend a lot on how the pins go and what the materials are made of. So writing down the settings, places. The state of the surfaces is very important for accuracy.
A good idea is to draw where the wet mark is, check areas take readings along the path of moisture and if possible check the outside walls for access. If the wall feels cold but the moisture readings match an area you might need to check for problems with insulation, air leaks and surface conditions of assuming there is a leak. If the readings are high along a path for water it's better to get a focused check instead of relying only on the heat pictures.
Getting Ready for a Good Check
Getting ready is important to make sure the check is fair. This means making conditions that don't interfere not changing the rooms temperature or humidity on purpose. Keep your heating and ventilation habits move furniture to show the surfaces and tell the person doing the check about any events like cleaning or painting that might affect the results. Don't cover the mark before the check.
Here is a quick list to make the process easier:
– Take a picture of the mark noting its size, position and the date you first saw it.
– Write down any weather changes, rain or cold and any activities like cooking or unusual changes in air movement.
– Make sure you can get to both the inside and the outside of the window where its safe.
– Find an area that has stayed dry which can be used as a reference.
– Have any repair bills or previous notes about the window ready.
If checking the needs climbing or disturbing parts of the building make sure a trained person does it. Follows the latest safety rules. Building laws can change so it's an idea to check the local rules when dealing with buildings or property laws.
Making a Plan After the Findings
Decisions about fixing things should come from the evidence and what you have seen, not from the heat pictures. If a cool line is there and its dry think about checking for air leaks or better insulation. If you find moisture that gets worse after weather it might need fixes with a follow-up check needed later. Fixing the wall before knowing the cause might just hide the problem.
In cases where condensation is suspected it's important to deal with the conditions, around the building after checking the structure. Make sure there is air moving ways to take out moisture working small vents and air moving around cooler spots before saying condensation is the problem.
After fixing or changing how the air moves check the areas again under conditions and compare the temperature and moisture readings. Even if the heat pictures look better that doesn't mean the wall is fully dry. If the mark is still there gets bigger or smells musty near wires it's important to stop any covering jobs and get a check.
In the end the real value of a check is not the colorful pictures they make. Instead it gives a way to decide what to do whether that means checking air movement looking at the buildings parts managing moisture inside or fixing water problems all while knowing the limits of each measurement taken.