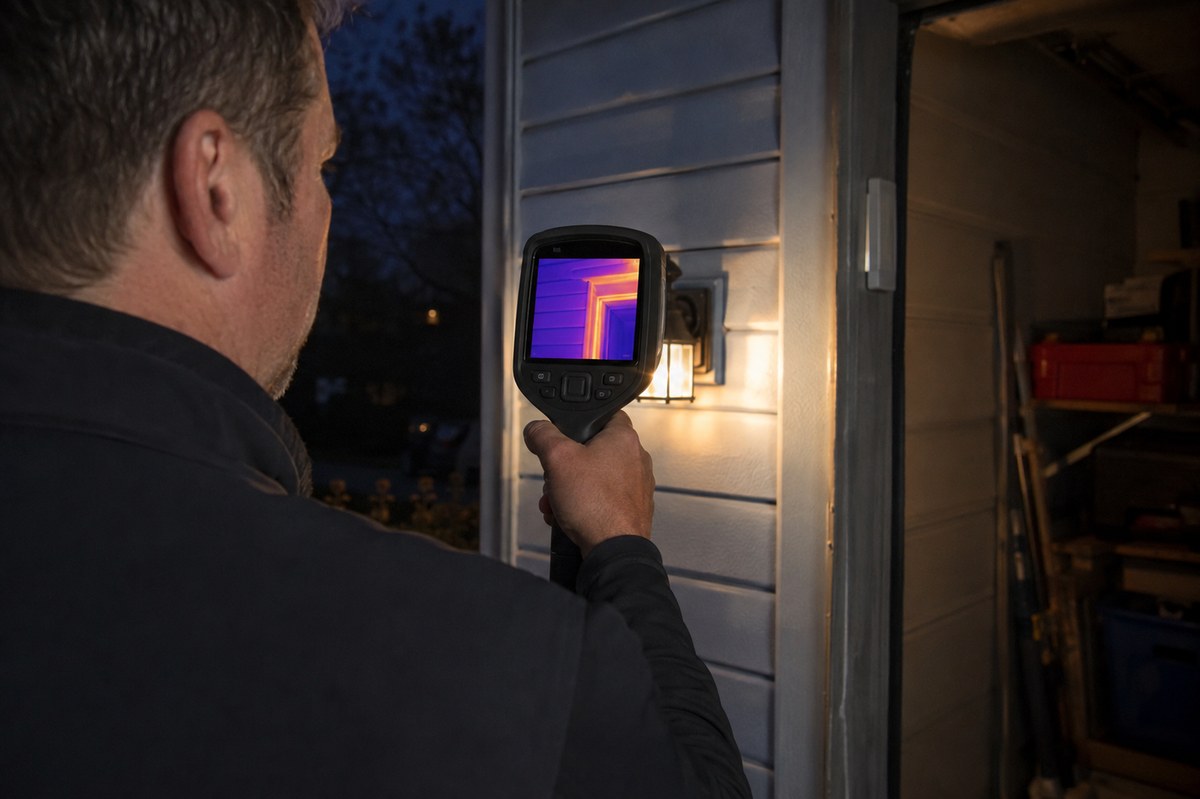
A homeowner notices a strip along one bedroom wall bubbling paint near a window and a circuit that trips more often than it used to. A traditional inspection may note the signs while infrared imaging can show temperature patterns behind them. When used correctly a scan helps figure out where to look, which expert to contact and whether a problem might need attention. A colored image is not a diagnosis.
What the camera can show that eyes may miss
Infrared thermography captures surface temperatures and shows differences as an image. It does not see through walls identify every material or prove a defect because an area looks bright or dark. Its value comes from spotting patterns that do not match the buildings behavior.
A steady cool band next to a window might mean missing insulation, air leaks, a bridge or moisture-related cooling. A warm spot on the ceiling could show a pipe, trapped air or sunlight. The same color can have reasons so construction details and inspection conditions are just as important as the image.
Thermography works best as a tool to look for issues. It can limit the building to an areas of concern before someone opens a wall removes floor coverings or starts more invasive tests.
Moisture, insulation and air leakage need context
Moisture detection is important but being too sure can be wrong. Evaporation might cool a surface. Make a pattern that looks like damp. Shading, air movement, an unheated room or a change in construction can make an effect. Infrared imaging usually shows where to take measurements not where moisture is present on its own.
Next steps might involve a moisture meter, humidity checks, a visual look at the side of the structure or checking plumbing, flashing and drainage. The right method depends on what's suspected and the materials involved. If a report says an area is wet because of its color ask what other evidence supports that.
For energy efficiency look at patterns, not one big spot. Heat loss might show around doors that don't close well roof corners, recessed lights, service holes and uneven insulation. Air leaks are often easier to see when there is a difference between inside and outside temperatures though wind, heating, weather and sun can change results. A scan done in unstable conditions might not be as helpful as one done at the right time.
Electrical faults are a kind of risk
Infrared imaging can spot unusual heat at electrical panels, connections, breakers, fuses, motors and other accessible parts. A hotter part compared to others might mean resistance, overload, imbalance or a loose connection. This finding needs attention especially if there is a burning smell, buzzing, discoloration, repeated tripping or equipment that feels too hot.
The camera cannot say if a part is safe to touch if it is rated correctly or what repair is needed. Electrical work should be checked by someone with the qualifications and safety rules vary by place. Do not take off covers. Expose live parts to get a better image. A proper inspection notes the conditions. Sends concerning findings for real electrical testing not just from the screen.
When the survey is worth choosing
An infrared survey makes sense when there is a question: Is a cold room due to insulation, air leaks or heating issues? Does a ceiling stain go beyond what can be seen? Which part of a floor might have heating problems? Is a panel showing a temperature difference that needs help?
It can also be useful before buying or remodeling a property when opening up walls would be expensive. Treat the scan as a way to reduce risk not as proof that no hidden damage exists. A building that looks normal might still have issues the camera cannot see or problems that were not active during the visit.
The survey is less useful when there is no question surfaces are shiny or blocked or weather and how the building is used make patterns unreliable. A traditional inspection, moisture check, pressure test, borescope inspection or expert evaluation might be a first step. The right method depends on what's suspected, not on how interesting a colorful report looks.
Prepare the building. Read the report carefully
Before the appointment tell the inspector when the problem happens, if it comes after rain or wind what repairs were done, which rooms are hard to heat and if there have been electrical issues. Make sure areas are open by moving things from walls and opening doors to compare rooms. Avoid changing heating or cooling settings unless told to.
Ask what conditions are needed and if weather or building use might affect readings. Preparation can be different for each place so follow the inspectors advice.
When looking at the report ask:
– Does each unusual area have a location, image and reference?
– Does it explain possible reasons, not just one idea?
– Were weather, heating, sunlight and equipment load noted?
– Is follow-up testing suggested, along with the right person or expert?
– Does the recommendation tell the difference between checking, fixing and urgent action?
The best report connects an image to a decision. It might suggest checking for moisture improving a seal checking insulation or having a test a connection. It should also say when the image is not clear.
Turn findings into action
Don't think every color change is damage but don't ignore a clear pattern just because nothing is visible. Match the step to how serious the problem could be and how strong the evidence is. A possible damp spot near a roof corner might need checks for water. A small temperature difference, in a room might first call for watching and checking insulation or airflow.
Keep images, inspection notes and follow-up results together. This helps compare the building after fixes and avoid repeating the guesses. Thermal imaging is best when it starts a chain of checks: see the pattern test the cause fix the confirmed problem and see if the building reacts as expected.